Workstation Storage Configuration with NVMe SSD, HDD and ZFS

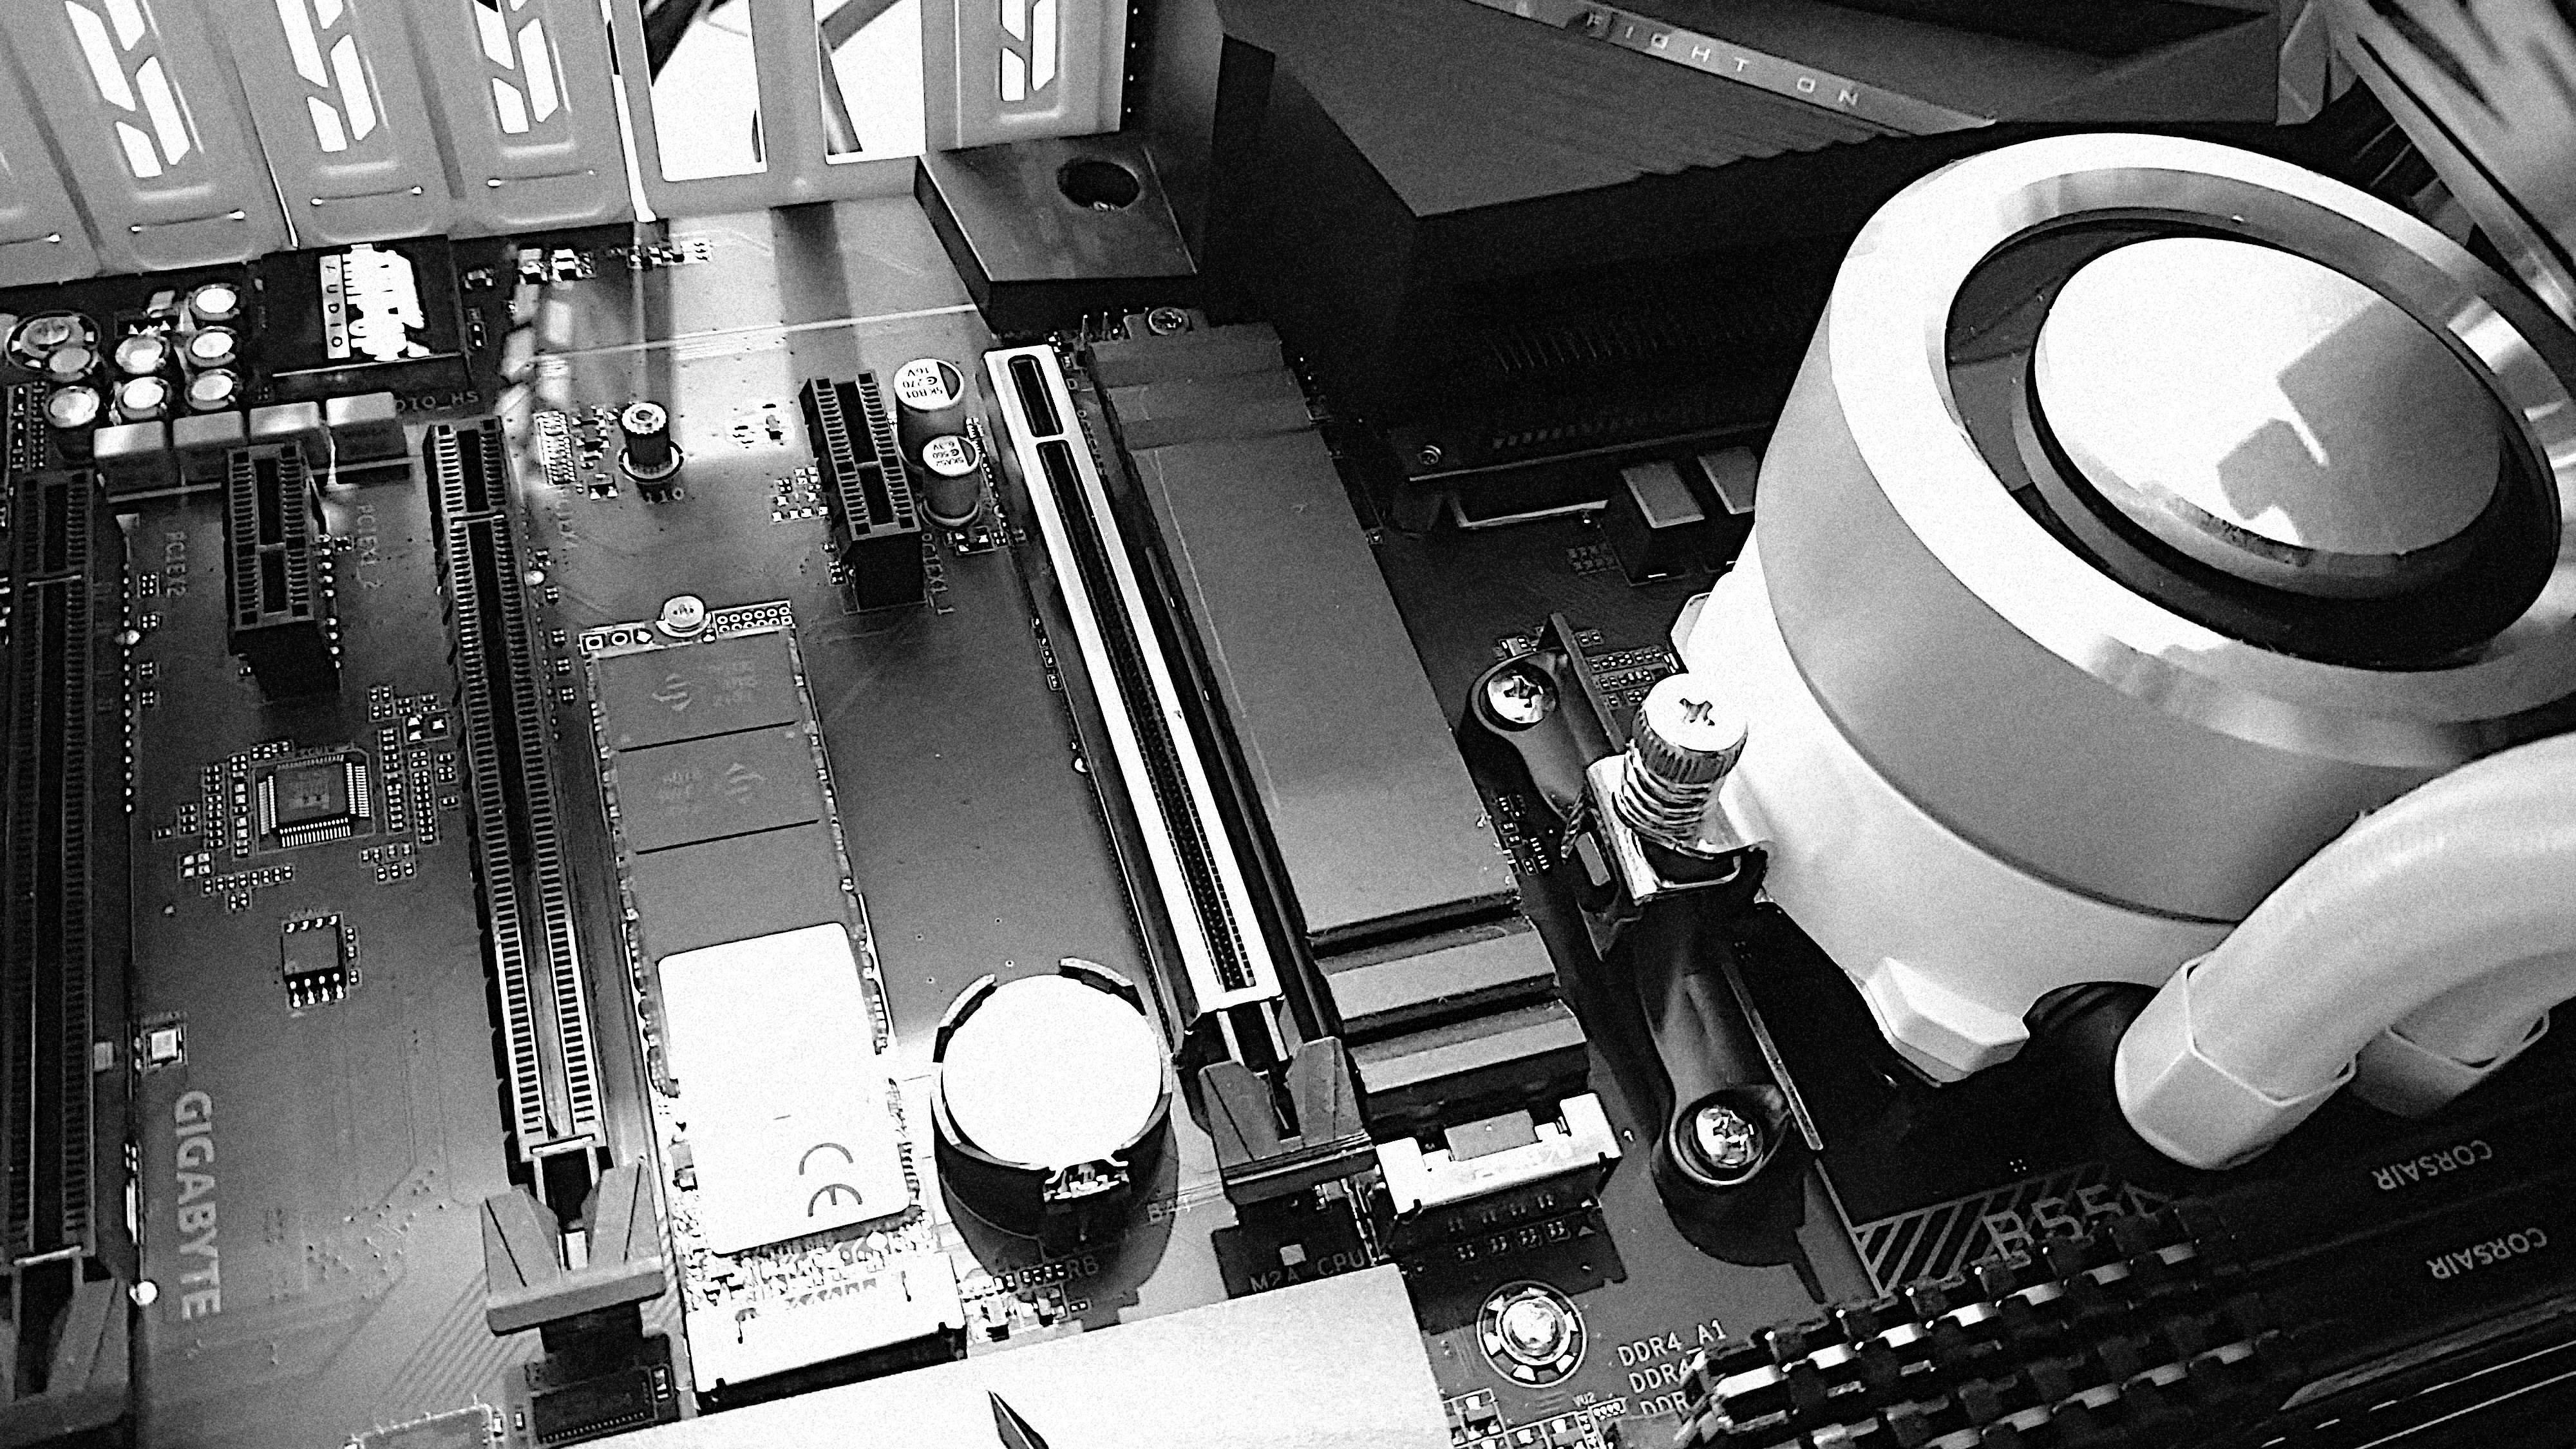
On a typical AMD AM4 motherboard with B550 chipset, you usually have 2x NVMe M2 slots, and 6x SATA ports. PCI 4.0 x16 lane is reserved for the graphics card, while the secondary first and second M.2 slots are PCI3.0 x4, which when used will disable secondary PCIe slot and some of the SATA ports. That's more than enough IO ports for me.

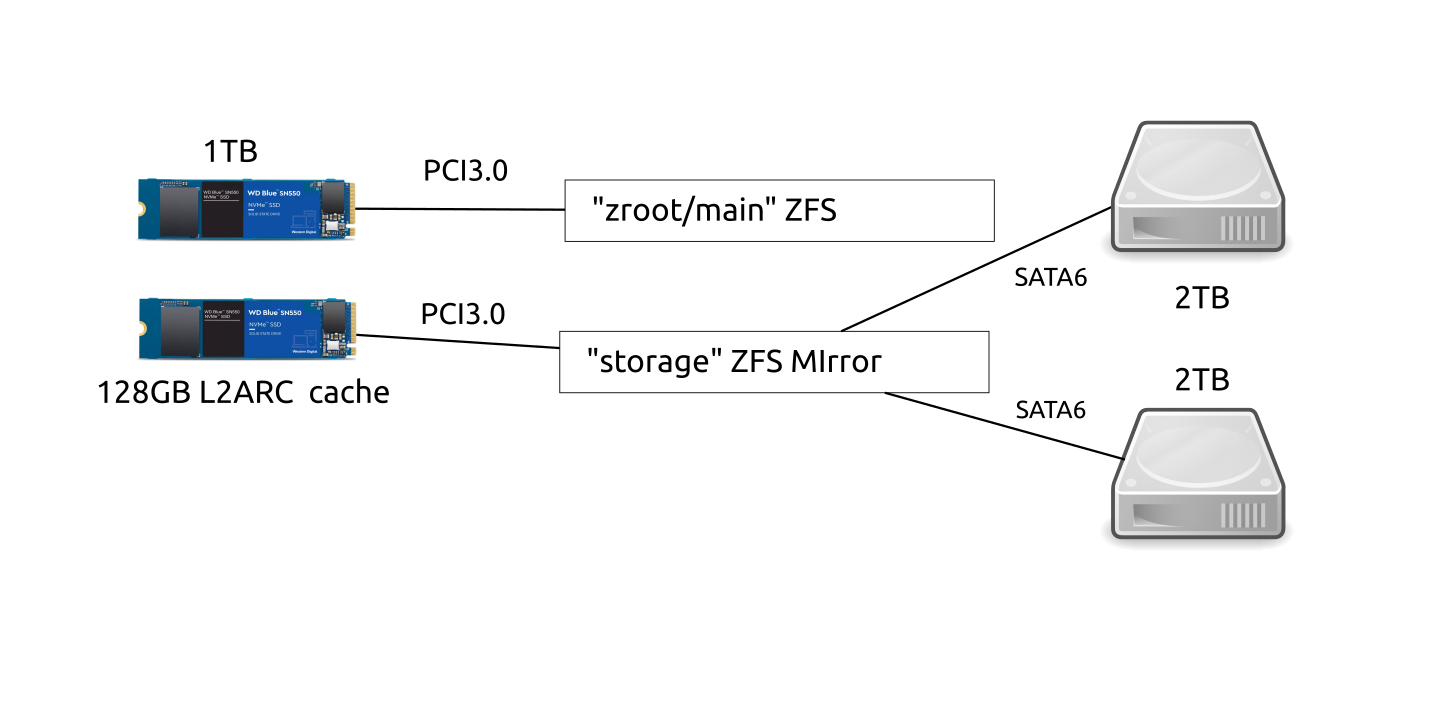
How I have mine set up, is by using the first large 1TB M.2 NVMe SSD drive as my main system and application drive, and secondary storage on slower, larger and cheaper (per GB) hard disks.
The two hard disks are set up as a ZFS mirrored pool for additional safety in case of drive failure.
L2ARC Cache
For my daily workload, I work on different projects. As such I will be switching a lot between different storage needs such as docker images/containers, media files and large datasets. Also Steam Library games. Since since altogether they take up a lot of space, it makes sense to have them on the much larger hard disk drives. But it would be troublesome to copy them over manually each time I switch projects to the faster main SSD drive.
One benefit of ZFS is that you can add a faster secondary cache device for a specific pool, and let it manage it automatically based on your usage patterns. With OpenZFS 2.0 this secondary cache is also persistent across reboots.
So for this, I picked up a cheap secondary 120GB M.2 SSD drive.
Once you know which device it is, it's straight forward in my case it's nvme1n1 so for me to add secondary SSD as cache drive, with storage being the name of zfs pool for the slower hard disks;
zpool add storage cache nvme1n1
The ZFS man pages are well documented with, man zpool for this and other commands. The secondary NVMe now shows up as cache device on my system with zpool status.
	NAME        STATE     READ WRITE CKSUM
	storage     ONLINE       0     0     0
	  mirror-0  ONLINE       0     0     0
	    sda     ONLINE       0     0     0
	    sdb     ONLINE       0     0     0
	cache
	  nvme1n1   ONLINE       0     0     0
On Ubuntu Linux you can use the command arc_summary -s l2arc to give current statistics
L2ARC status:                                                    HEALTHY
        Low memory aborts:                                             0
        Free on write:                                                 2
        R/W clashes:                                                   0
        Bad checksums:                                                 0
        I/O errors:                                                    0

L2ARC size (adaptive):                                         169.5 GiB
        Compressed:                                    70.2 %  119.0 GiB
        Header size:                                    0.1 %  186.6 MiB

L2ARC breakdown:                                                    9.5k
        Hit ratio:                                     28.1 %       2.7k
        Miss ratio:                                    71.9 %       6.9k
        Feeds:                                                     31.7k
For me usually it's about 45% hit rate, which is not only faster, but quieter too as it's reading from the NVMe drive and not hard disk. Interestingly enough, the best hit rate is when loading up large Steam games. Which means the games you're currently playing, load up mostly from SSD cache and like work projects, you don't have to move them between SDD and HDD storage manually.
ZFS Compresssion
Another benefit of ZFS is ability to easily set different types of on-fly-compression compression per dataset (in zfs speak a filesystem). You can have fast lz4 for example by default, and then for rarely used but large data files I use zstd-19 which is slower but has in my case more than 200% better compression vs general lz4.
This is how you set it. Note datasets here is normal usage of the term, it's where I store my open and none open data files in. You can make and name it whatever you want with the zfs create command.
zfs set compression=zstd-19 storage/dataset
To get what type of compression is set, use get instead:
zfs get compression storage/datasets

NAME              PROPERTY     VALUE           SOURCE
storage/datasets  compression  zstd-19         local
And to get the compression rate, get the compressratio property:
zfs get compressratio storage/datasets

NAME              PROPERTY       VALUE  SOURCE
storage/datasets  compressratio  2.44x
Docker
To use docker with zfs you need to stop existing docker and have an empty /var/lib/docker. If you already have an existing zpool like mine, then you need to create a new zfs dataset and set the mountpoint to /var/lib docker:
zfs create zpoolname/docker
zfs set mountpoint=/var/lib/docker zpoolname/docker
Then enable the docker zfs storage drive in /etc/docker/daemon.json
{
  "storage-driver": "zfs"
}
And restart docker
Resources
Document Actions