Going tubeless and tyre choices
Bicycle flats are annoying, and it's a pain to put in a new tube in at the side of the road, worse if it's in wet or dark conditions. So I've converted over to tubeless, which at least removes the problem of small punctures.
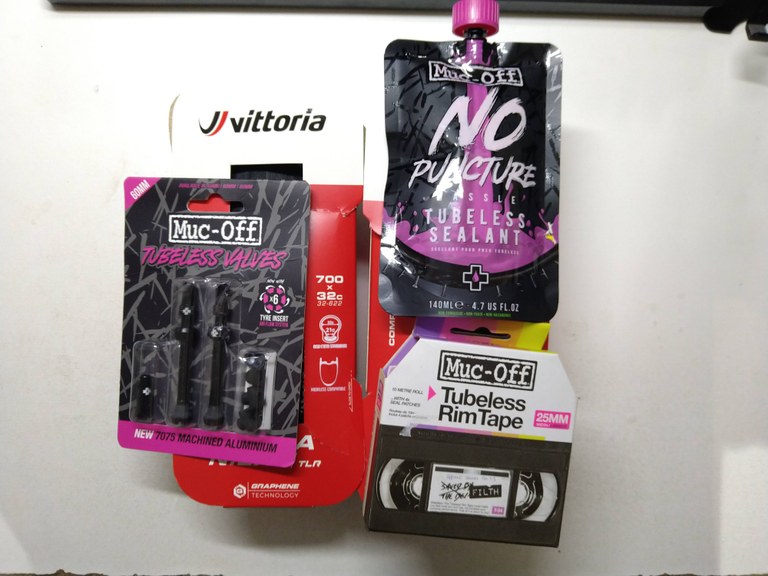
The setup is actually quite simple. If you have a rim that is marked as tubeless ready, which most new rims are, then all you need are tubeless valves, rim tape, some sealant and a set of tubeless ready tires. Tubeless ready tires are usually labeled as TLE or TLR.
I've had good experience with using Muc-Off rim tape so far. And it's as easy as the instructional video.
Some tips for the problems I encountered.
Make sure you clean, the inner rim surface well. Getting a can of sticker removal spray/liquid and clean rag makes it easier if there are sticky residue and what not from stickers or the existing protection liner (which you need to remove first).
If after you're sure the rim tape was applied properly, and air seems to be leaking from the spokes, don't worry. It's most likely a problem with the valve rubber seals and not the rim tape.
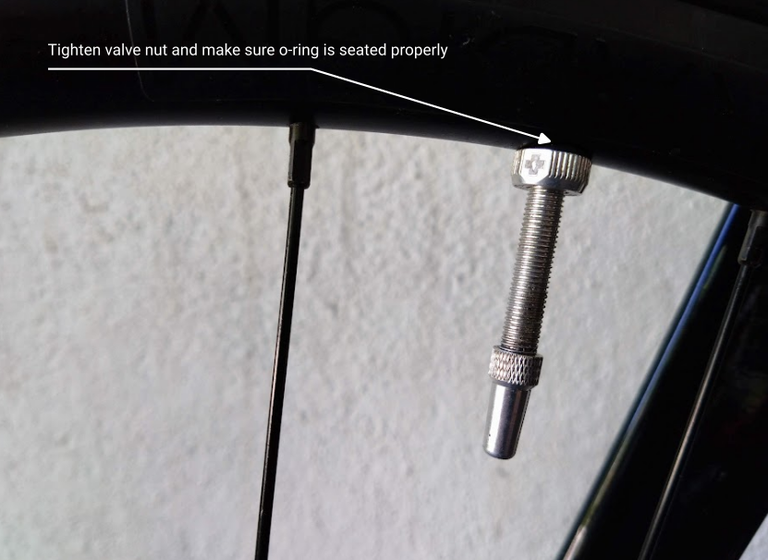
Make sure that the inner rubber seal is the right shape for your inner rim and sitting snugly against the hole. Then make sure the o-ring seal on the outside of your valve is seated properly, and make sure you tighten it as much as possible by hand. I recommend using a small towel for grip. You do not need to use any tools. Later with tyre seated, and with sealant, it can even be rather loose and still be air tight.
The other problem you might encounter is a slow leak, which reduces air pressure significantly over a day or two. There are two possible solutions for this.
First one, is after filling in your tyre with sealant and having pumped it up with air, to actually loosen the valve nut which we tighten before, and then move it around a bit and get some sealant to leak and then seal. When you tighten it again, this should create a better seal, and you will find that you might not even need to tighten it as much as before.
Second, usually applies for more lighter "performance" tyres. If you spray the tyres with soapy water, you'll notice patches of foam forming on the sidewalls. Possibly due to manufacturing inconsistencies, and and thin sidewalls to keep the weight down, some parts of the tyre are porous. The fix is also easy, just add a bit more sealant, to be able to cover the sidewalls better. Then after filling it up with air, lay your bike or wheel sideways, and spin it around so that the sealant covers the sidewalls. This should fix it. There shouldn't be any more patches of foam where air is slowly leaking out. Note that these thin tyres will still lose air faster than conventional tubes or thicker heavier ones. More on this later.
Seating the tyre
For supple (soft) and narrow road tyres 32mm or narrower, a normal floor pump is all you need to seat the tyres. This is the process where the beads around the tyre, fit snugly against the grooves on the rim when you fill it up with air. Once it's seated, you can even deflate it, and it'll be easy to pump it up again.
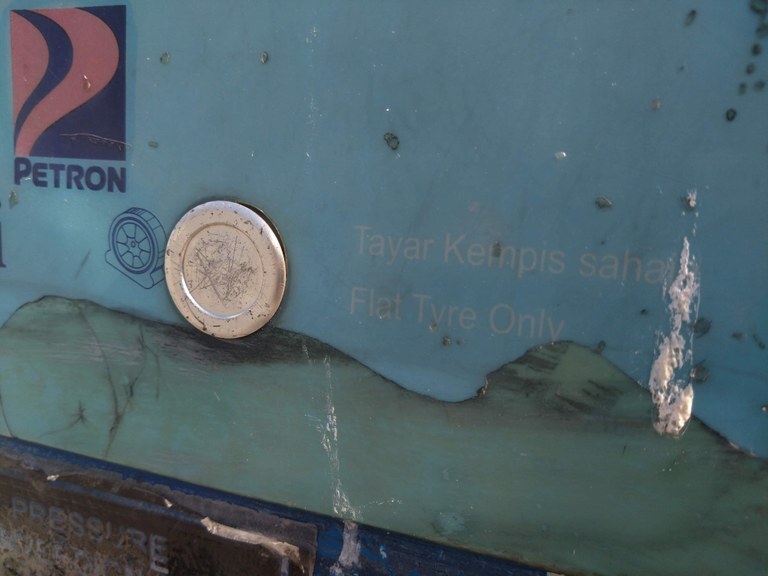
Seating wider and stiffer tyres 35mm or wider, requires a lot more air. In Malaysia at least, you do not need to buy an expensive pump for this. Most petrol stations have free air compressor. Car tyres are tubeless too, and when flat need seating also. Look for a flat tyre button. Using a Schrader valve converter which you can get for like RM3 (USD1) online, and pressing this button should give you a few quick blasts of air to seat your tyre. Once it's seated, you can then put in valve core and pump it up with a normal floor pump.
Choice of Tyres
Tubeless fixes the typical punctures, like tacks, nails, thorns etc. There were two incidents for which tubeless failed me. Once was hitting a pothole with rough edges with fast (read thin) road tyres. The second was also with road tyres, with damage to the sidewall.
After these incidents, I've decided that costly performance road tyres are not worth the bit of extra speed for me. I'm good with the tradeoff of a leisurely 30km/h fast worry free commute vs 32-34km/h speed improvement my ride data shows me.
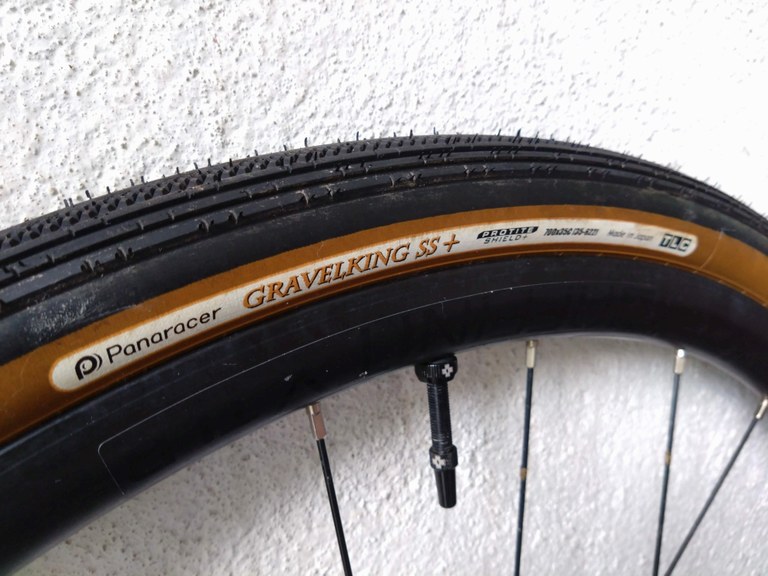
For touring, I've been very happy with my 35mm Panaracer GravelKing SS+. They roll pretty fast on tarmac and hard packed gravel, and even gotten me out out of a tough spot of unplanned wet muddy unpaved paths. They also have additional layer of protection for thread and sidewall. This additional layer, also reduces air loss. The additional volume of air also helps roll over and cushion impact of smaller potholes.
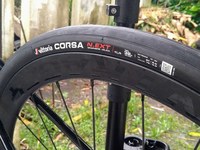
For road tyres, I'm currently using Vittoria Corsa N.EXT 32mm tyres, they're really good for what they're advertised at, which are light, fast performance tyres. The speed and comfort comes at a price however, and the sidewalls are quite soft and thin. For my main usage of daily commutes and fitness, my next set of road tyres, when these will likely be the newly announced (in Japan) Panaracer Agilest TLR Duro road tyres, which comes with sidewall protection belt and 32mm width.
Document Actions
